She and her sisters, Jo and Scary (aka SarahLynn), have some great projects at their blog, Shaffer Sisters. One of their projects I'm excited to try is the Minky Crib Sheet. (How amazingly comfortable does that sound?!) And they do a lot of sewing for girls (I love this cute dress) and for boys (like this awesome shirt). You should definitely go check out their blog!
But first, the "What Child is This?" mini quilt. On to you, Al.
~~~
 |
| This was taken at a church Christmas party when Ty was 18 months old. |
 |
| Christmas Towel Tutorial & Free Printable |
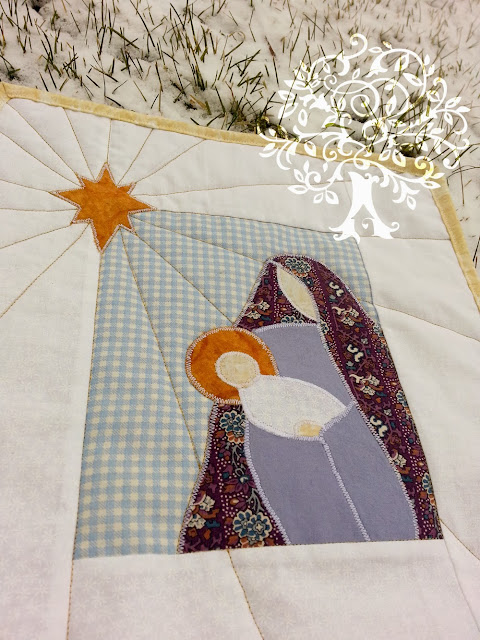
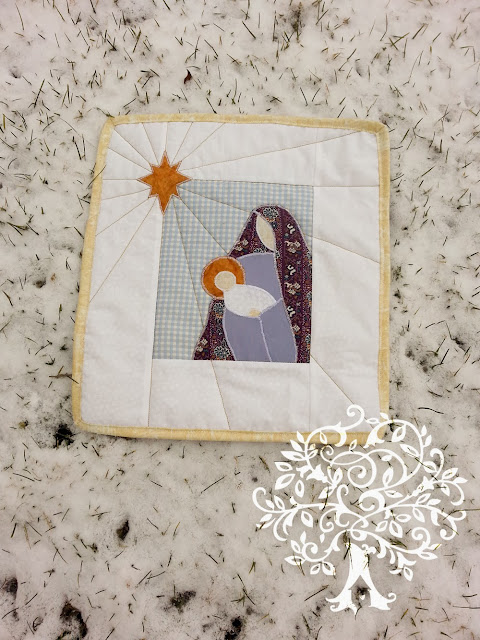
This story is portrayed in the hymn of "What Child is This?" It is one of my favorite Christmas songs. One day while thrift store shopping I found "Quilt a Colorful Christmas" (contains 39 projects) and it cost only $2. You should probably know that I love quilts so getting it was a no brainer. One of my favorites from the book was the Mother and Child project which I decided to share with you today.
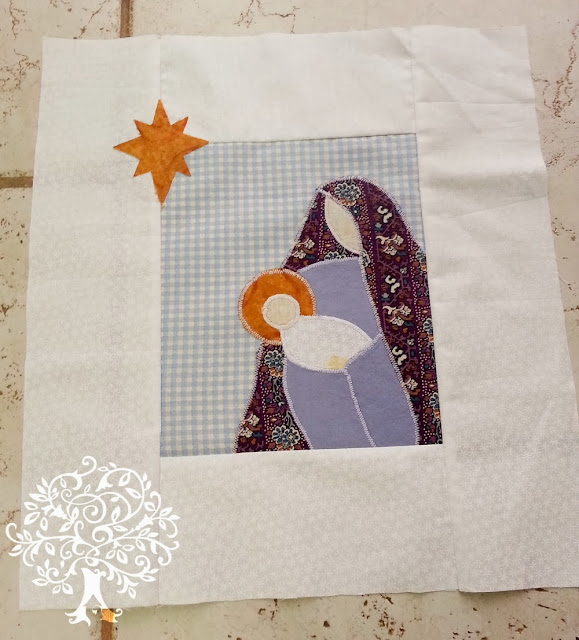
This was such a fast and easy project. I thought it would entail paper piecing or something a little more complicated, but it was simply just fabric, sew-able heat-n-bond (they recommended fusible web, but I had to make due with what I had), stitching on top of the applique, and then putting it all together.
Sadly I can't give this pattern to you since it's not my design, but you can do something similar to this by just sketching it out. Then add 1/8-1/4" (on your sketch with a dotted line) to the pieces that lay underneath the pieces on top (so you don't have any unwanted dead space, but you will be able to trace out your pattern next). Then you can go through and trace out each little pattern pieces onto printer paper. And wala you have your own pattern.
Since I don't want you to miss out if you want to do something like this and feel like you lack the artistic ability necessary, I came up with my own design using the instructions above. I am sharing the pattern with you and tomorrow you can come over to my blog and see the finished project and share yours if you decided to make one as well.
 |
| What Child is This Placement Guide & Pattern Pieces (print to be 8.5" x 11" size) |
Pattern pieces
Scraps of 6 different colors (plan appropriately and make sure there's enough)
(1) blue background fabric 8" x 6 3/4"
(2) 3 3/4" x 6 3/4" for top and bottom border
(2) 3 3/4" X 13 1/2" for side borders
(2) 2 1/4" x width of fabric for binding (piece together to have one long strip)
(1) 12 1/2" x 13.5" piece of quilt batting
*When sewing use 1/4" seam allowance.
After printing or designing your pattern pieces place then fusible webbing or sew-able heat-n-bond above the pattern (paper side up) making sure you trace all the pattern pieces. After that it's just a matter of cutting out the adhesive pattern pieces and ironing them to your scraps of fabric, cutting them out of the scraps and removing the backing paper.
To put it together you can look at your original picture for a placement guide and place it on the blue background. Don't iron until you are absolutely ready. When I did it, I just did a little at a time (starting at the bottom and making my way up) because I wanted to be able to adjust if it shifted. Once it's all ironed you can stitch around the edge of the applique with a small zigzag stitch in a clear or neutral thread so that the design will stay.
After that it's a matter of adding the border (top and bottom first then sides) and putting it all together like a mini quilt. There's a little extra length on the side pieces (1/4") that you can trim down and square off when you are done. All that will be left is to quilt (what design/method you choose) and bind. If you don't know how to do binding you could read this tutorial on binding.
Thanks so much for letting me share my love for the Lord this Christmas season.
With Love,
Al
~~~
Be sure to check out the other posts as we Sew a Song of Christmas!


No comments:
Post a Comment
Thank you for your comment! I love to hear from you--your comments make my day!
I've been getting a lot of spam comments lately, so I'll not be allowing anonymous comments for the time being. Sorry to any legitimate anonymous commenters!