This post is a first for me: the first time doing my own pictures. Here's a bit of what that involved:
Jill: The camera's set to shoot in RAW, so you'll have to process the pictures.
Me: I don't know what that means.
(Later) Jill: You might be able to do batch processing.
Me: I don't know what that means either.
I was going to attempt to edit the pictures with newly-aquired Photoshop Elements, courtesy of Jill's husband, who already had the full version. (Thanks!) Neither Jill nor I could figure out how to get the pictures from iPhoto to Elements, so we eventually put them on Jill's computer and she edited them for me. Next time, though, the pictures will be all mine. Now, on to the flowers!
A while ago, some crafty ladies at my church got together and we made flower hair clips. They are fun, easy to make, and compliment-attractors, so I thought I’d show you folks how to make your own. If you don’t want a flower in your hair, clip it on you purse or your belt. You could also put it on a headband for your baby so when strangers see her, they can tell that the baby dressed in pink, with a pink blanket and a pink diaper bag, is, in fact, a girl.

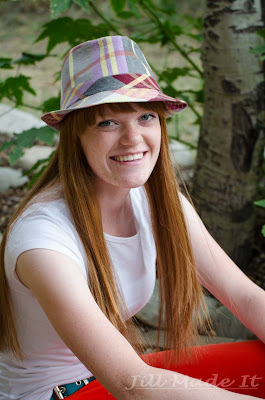
You can put them wherever you want an embellishment. I like them because they're a quick way to add color, and they make it look like I at least put some effort into my hair. (Let's just say I'm "low maintenance" with my hair. Anything beyond washing and brushing it is usually deemed more trouble than it's worth. Thank goodness my hair cooperates.) They can look surprisingly real, too. One time when I was wearing my white flower, in the picture above, a lady I know who owns gardenias thought I had a real gardenia in my hair.
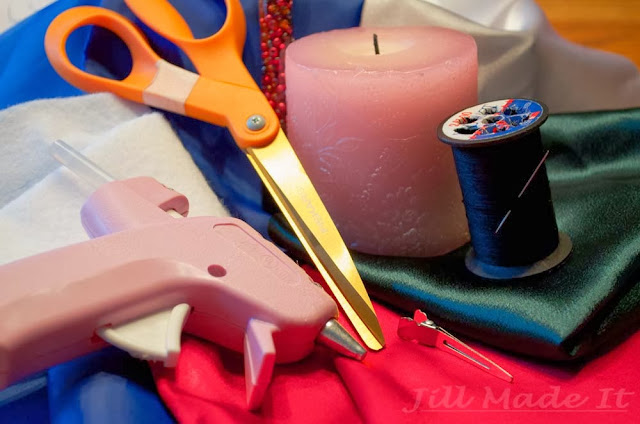
Here are the materials you’ll need:
Synthetic fabric, any color or pattern you like
Fabric scissors
Circle templates, if desired
Small candle, like a tea light
Something to light the candle, of course
Needle and Thread (optional)
Small beads
Felt, at least two square inches per flower
Hair clips
Hot glue gun
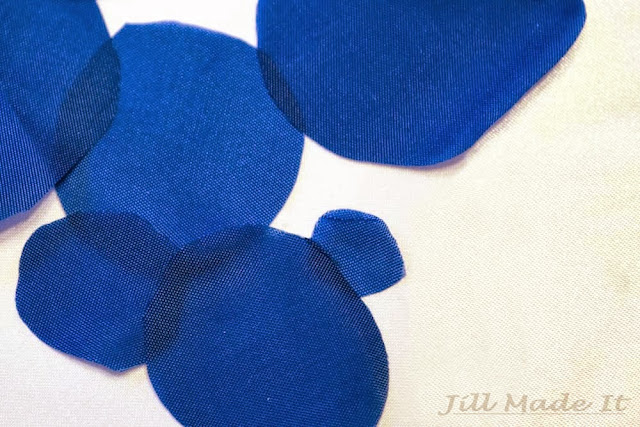
Cut out several circles of fabric, each one bigger (or smaller) than the one before it. You can use a template if you want, but wobbly edged circle-wannabe's aren’t a big problem with this. I think the easiest way to figure out how big to cut each one would be to cut your biggest and your smallest circles first. Cut them a little bigger than you think they should be. In the first picture, I have two flowers as one clip because they both ended up unexpectedly small. Next, cut your smallest and use that as a template to make each successive circle bigger. That way, you can pin the previous circle to the fabric and cut your next one a bit bigger. Or you can wing it. That works too. You can do as many or as few layers as you think would look good, but I wouldn’t go less than three. The blue one you're seeing in progress has seven layers.
You can keep these as circles, you you can cut petals into them. The circle flowers are a bit easier, but ones with petals will look more realistic. If you want petals, make sure to not cut too far towards the center. Cut as many or as few petals as you want, but don't cut them too thin, or you'll make the next step difficult. You may want to practice the next step before you cut your petals, if you want them to be thin.
Melt the edges with your candle. Besides keeping the fabric from fraying, melting the edges makes them pucker and warp and not just lay there like a flat piece of boring. This is why you needed to use synthetic fabric. Synthetic will melt; natural will burn. I suggest you practice a little with some scrap fabric to see how exactly you want to do it. I prefer to have the edges curl down, but you see what you prefer. Make sure to not let the hot edges touch. They could melt together. If something doesn't go quite right, don't worry. This is a forgiving craft. It seems like half of my petals curled up and half curled down, but the flower still worked out nicely.
Sew or hot glue the layers, one on top of the other. I prefer to sew them, but glueing should work too, if you want a no-sew project. See? It’s coming together!
Sew or glue a few beads in the center of the flower. Again, I prefer to sew it. That way, I don't have to worry about the glue showing around the beads. I was going to say this step was optional, but then I realized the beads serve a practical purpose. If you sew the layers together, you'll need the beads to hide the stitching that will show on the top layer.
Cut out two small pieces of felt. Glue one to the underside of the flower. Glue the other one onto it, with the top of a hair clip sandwiched between the two felt pieces. After the glue’s set, you’re done!
How will you use your flower hair clip? Do you prefer “natural” looking fabrics, or ones with bold colors or patterns?


