18 November 2011

The Versatile Blogger Award {Featuring Blogs Mini-Series}

In the middle of my October Extravaganza (Halloweenfest?  Month of Madness?  I never did choose a name for my month of Halloween/autumn-themed posts), I received an e-mail from Julianne from Sew Fantastic telling me that she was giving me the Versatile Blogger Award!  So I've been a little slow in responding, but better late than never, right?


Thanks, Julianne!

As part of this getting this award, I need to:
--Link to and give a shout out to the award-giver.  (Check!)
--Share seven things about myself.  (All right, I'll do that in a minute.)
--Send this award on to fifteen other bloggers.  (I've decided to do this in a mini-series, and write up a feature for each blog.  Because who doesn't like being featured, right?  So I'll feature one blog each Friday for fifteen weeks.)

Okay, seven things about me:
1--My mom taught me how to sew when I was a kid, and the sewing machine scared me!  (It was so loud!)  But now I love sewing; quilting, making clothes, crafting--I love it all!
2--One of my favorite classes in college was Book Arts (aka book making).  I really need to write some tutorials on making books.  (Maybe they'd be good Christmas presents...)
3--I graduated college with my major in Studio Art.  Yep, craftiness was part of my major.  Also drawing and painting, but I haven't had too much time for those since Boo was born--it's hard to paint in only nap-sized lengths of time.  (But my wonderful sister babysat Boo long enough for me to paint this.  Thanks, Sis!)
4--I'm not really a fan of cooking, but I love making desserts.  (I don't mind cooking itself; it's the mostly washing up all the pots and pans.  And all the time it takes.) Mmmm, chocolate chip cookies...
5--I love to read.  Novels used to be my favorite, but now I really like how-to books.  I love learning how to make new things!  (I bet you're all super-surprised.)
6--If I could go anywhere in the world, I would choose Hawaii first.  (But there are lot's of places I'd like to go!  Scotland, England, Brazil, anywhere on a cruise...)
7--All right, one more thing...hmmm...I've never sewn with knits.  I really need to learn how, especially since I want to start making more clothes for Boo.

The first blog I am passing this award on to is Peace, Love, Recipes by Courtney.

Okay, so I told you I'm not really into cooking, but I love finding new recipes.  (I know, weird.)

Doesn't this Creamy Cran-Raspberry Sherbet look delicious?


Or how about these Nutella Fudge Brownies?


There are plenty of non-dessert thing, too, but like I said, desserts are my favorite.  :) 

So head on over to Peace, Love, Recipes.

Happy cooking!


16 November 2011

Thanksgiving Puzzle Blocks (Free Printable!)

{Looking for the flower clip giveaway?  Click here.  Remember, it ends Friday!}
{This giveaway is now closed.}

Thanks to my cousin who came up with this idea!  She wanted to make Thanksgiving Puzzle Blocks, like the Pumpkin Puzzle Blocks I did for Halloween.

Just print, cut, and decoupage onto nine 2" x 2" wood blocks.


No, I didn't forget to upload a picture.  The sixth side is for a family portrait!  

Happy Thanksgiving!

And happy crafting!

14 November 2011

Little Hawaiian Dresses

{Looking for the flower clip giveaway?  Click here.}
{This giveaway is now closed.}

I actually made these a long time ago; I can't believe I haven't shared them with you yet!  (You may recognize the orange dress from this post.  Yep, it's been a while.)


I used Butterick Pattern #3782 for both of these little dresses I made for my Boo.  I made the blue one first (as you may have guessed since it's smaller!), and it was nice, but, well, the pattern needed some improvement.  The neckline was just too high--it was almost a turtleneck on my tiny little girl.  And the ... straps?  Do you call them straps when they're that wide?  Anyway, those parts of the dress were too wide--they were almost cap sleeves for Boo. 
So the next time I made the dress, I made the neckline a little lower, and the straps a little thinner (more strap-like).  Then I finished the edges by adding facings, instead of bias tape, which also helped with keeping the dress a reasonable size at the neck and arms.

I also merged the two pleats into one center pleat, which I just like better.  

Then I added a ribbon for a tie.  Besides adding cuteness, I wanted to be able to tie the dress to fit my tiny little girl, instead of being so big on her.


There's a funny story behind the orange Hawaiian dress.  Mr. MadeIt had this bright orange Hawaiian shirt he loved and his family loved to make fun of.  Then one day, much to the joy of the family and the sadness of Mr. MadeIt, the shirt tore.  Mr. MadeIt threw it away.

And I rescued it.  A shirt that was amusing on a redheaded daddy became a dress that was lovely on a brown-headded daughter.  I even re-used some of the buttons from the shirt to decorate the dress.  Mr. MadeIt's family was thrilled to see the orange Hawaiian print on their granddaughter/niece....and not on their son/brother.

(P.S.  I actually liked it as a shirt, too.  Everyone should have a loud and happy Hawaiian shirt if they want to!)


10 November 2011

Happy Birthday to My Blog!

{This giveaway is now closed.}

As of today, I have been blogging for one year!  Happy Birthday to my blog!  This is what I wrote in my first ever post:

I love to make stuff. There's just something about taking raw materials and creating something! And I love to see what other people make, get inspired, and learn how to make new things. So here's my contribution. I hope you like my blog.

Wow, I think that was also my shortest ever blog post.

To celebrate my blog birthday, I want to have another giveaway.  I made these flower hair clips for one of you wonderful readers.  Thank you all for supporting me in my blogging.  I love reading your comments, and hearing about you making my projects.  

(I learned how to make these flowers from this tutorial, by the way.  They are easy and lots of fun to make!)

{This giveaway is for my followers.  If you aren't following already, it's easy to change that!}

Ways to enter:
(You can pick any or all!  Leave a separate comment for each entry.)
1--Tell me which of my posts is your favorite.
2--Tell me what you would like to see more of on my blog.  (More about my life, a specific type of tutorial...)
3--Share your favorite of my posts on your blog, with your Facebook friends, or with your Twitter followers.
4--Follow me on Facebook.

The winner will be chosen on Friday, November 18.


Good luck!


And happy crafting!


09 November 2011

Red Envelope Inspired Beaded Bracelet Tutorial (Plus Matching Necklace and Earrings!)

Okay, so I didn't restrain myself from starting my project until Craft Night.  But I realized that I wouldn't be able to finish this all in one night, and I wanted to share it with you today!

The other day, I found this bracelet (from redenvelope.com) on Pinterest:


Isn't is so pretty?  But what wasn't pretty was the price tag--$79.95.

So I made my own (in a different color scheme--I loved the rich creams and golds).  And mine only cost $10.01.  (Plus the headpins, which I already had.)


(Like the heart-shaped clasp?  I think it adds a little cuteness while still being subtle.  And it references the heart in the inspiration bracelet.)

Granted, theirs in made of semi-precious stones, silver beads, and freshwater pearls, whereas mine is made of glass beads.  But I love mine.  It's a lot more bracelet than I usually wear, but this time of year just makes me want to sparkle and shine a little.  (And the Christmas lights aren't even up yet!  I think I'm in trouble!)

I actually got too far ahead on my bracelet before Craft Night; I finished it long before my sister was ready to leave (or me, either, for that matter).  What to do...

I know, I'll make a matching necklace.

So I did.


I took more of the chain I'd used to make the bracelet, added another heart-shaped clasp onto one end, and beaded up the other.

Well, that necklace didn't take nearly as long as the bracelet had, and I got it done, too, before the night was over.  

Hmm...I don't have any pearl earrings, yet.

So I made a pair of those, too.

(Okay, the earrings look kinda' funny hanging on the necklace chain...Oh, well.)

The earrings were done in the same method as these earrings, but with much shorter wires.  I used a small, medium, and large bead for each earring, and had the wires for the small and large beads the same length, with the other just a little longer.

And then it was time to go home.  But now I've got a complete set of matching pearl jewelry!

Okay, so now for the Pearl Bracelet tutorial.  Ready?  It's time consuming, but really easy.

You need:
A plain chain bracelet  {OR a length of metal chain (from the jewelry section, still) and a clasp.  This is far and away the cheaper way to do it.  I got enough chain for my bracelet and necklace with lots still left over for $3.  One chain bracelet was going to cost me $7 or so.}
lots of headpins {OR you could make your own, like I did for my Holiday Earrings, but you'd need so many for this project that I think it's more worthwhile to just buy them.  I don't remember how much they cost, but it wasn't too much.}
a lot of beads of your choice  
Round-nosed pliers
Wire cutters
Second pair of pliers {optional, but very helpful}


Plan out where you want your beads.  I started with a pattern at first, but by the end, I was just filling in beads wherever they were needed.  So this picture shows where I put my first round of beads--the pearls.

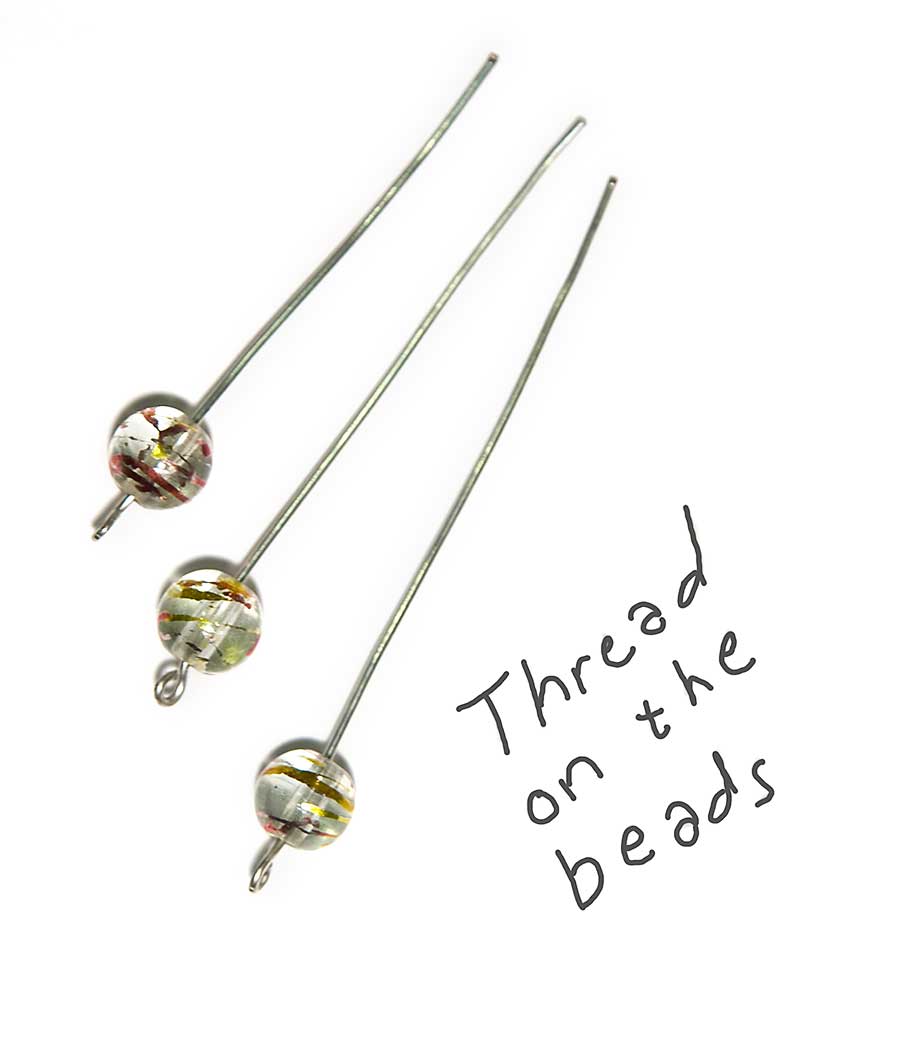
Thread a bead on to your first headpin.  Use your round-nosed pliers to make a loop in the headpin above the bead (as above), then thread the wire on to your chosen link of the bracelet.


Next, wrap the wire around itself just above the bead.  Cut off the extra.  Bend the loop so it comes out straight from the bead.

{You could also attach the beads like in my Holiday Earrings tutorial, it you like that better.  I like that the loop can't accidentally be pulled open with this method.)

Continue until your bracelet is as full as you want it.  

Wasn't that easy?  A few supplies, a simple technique, and a few hours and you can have an $80 bracelet for $12 (to include the headpins in the total).  

Happy crafting!

P.S.  Tomorrow is a special day for my blog.  Check back to see why...  :)


07 November 2011

Quick Project Preview

I just got new materials for my next project!  I'm so excited--I want to start now, but I'm going to restrain myself until tomorrow, when I'll be getting together with other ladies for  a Craft Night.  

So here's a little teaser for you to enjoy until then.  :)


What would you do with all these beautiful beads?

Hopefully I'll get this done in time for my Wednesday post, but until then:

Happy crafting!

02 November 2011

Holiday Earrings Tutorial

Whew!  I liked doing my Grand Month of Halloween, with all those fun projects and extra posts, but I'm glad to get back to my regular two posts a week.  Four posts each week is hard!  (I didn't even always manage that.)  Hats off to you bloggers who always do that (and more).

Let's start off November with these fun earrings I made the other day!  I realized that Boo is long past the pulling-on-everything stage, so it is safe to wear earrings again.  I really love dangly earrings, but I didn't have any yet, so I made up this pair while watching TV with my hubby one evening.


They will be great to wear all the time, but they make me think of fancy Christmas parties.  I'm just imagining theses earrings with a pretty, red, fancy dress...

And they are really easy to make.  Just gather your materials, put on your favorite TV show, and you'll have new earrings before the credits roll.


(The above picture shows the materials for each earring--you'll need twice this so you can make a pair.  But not twice the pliers; that would be silly.)

You Need:
a pair of ear wires
some 20 gauge jewelry wire
2 large jump rings
6 largish glass beads
round-nosed pliers
wire cutters
needle-nosed pliers (or a second pair of any kind of pliers)  These aren't absolutely necessary, but it does make working with such small things easier to have pliers for each hand.

(Note to self:  Use a pen instead of a pencil the next time I need to take pictures of writing.)

First, cut your wire.  Determine how long you want the finished earrings to be, then add a little for making loops at the top and bottom.  This is Wire 1.

Wire 2 will be one bead-length shorter than Wire 1.

Wire 3 will be one bead-length shorter than Wire 2.


Next, make a tiny loop at the bottom of each wire.  (This is just to keep the bead on.)  Bend the wire so the loop comes out straight from the wire.


Thread the beads onto the wires.

Make larger loops on the tops of each wire.  (I forgot to take a picture of this, but you know what I mean, anyways.)


If the loops are not lined up the way you want them to be, just twist them into place.


Connect the ear wire and beaded wires with the jump ring.

Repeat for the second earring, and you're done!  

See how easy that was?  I was so excited these earrings turned out so well and so easily, that I made several more pairs of earrings over the next few days.


First these pretty little things.


And then these fun little feet earrings.  I was actually trying (unsuccessfully) to do something else, when I realized it was starting to look like a foot.


And, of course, the earrings for my vampire costume!  But I love that they will work for non-Halloween occasions, too.

What kind of earrings do you like best?  Dangly, stud, or hoop?