Showing posts with label home decor. Show all posts

16 December 2013

"Away in a Manger" Sweet and Simple Nativity

Do you ever feel like Christ gets a little lost in the Christmas season?  I do.  So I wanted today's Sew a Song of Christmas project to remind us what Christmas is really about.

I did already make a wooden nativity set a couple years ago, but there's always room for another nativity set, right?   We will have fun playing with these cute little guys and teaching Boo and Daddy's Girl about when Christ was born.

"Away in a Manger" Sweet and Simple Nativity

This project was inspired by these adorable Princess Peg Dolls.  When I showed Boo this tutorial, she decided she wanted to paint a princess set.  So she did.  And they turned out really cute.  I'll have to show them to you later.
  
Wooden Peg People Nativity Set—Supplies

Besides the regular painting supplies, all you need for this project are eight wooden peg dolls.  I found mine at Hobby Lobby.  They come in packs of eight, so that worked out great!

These are the "Man" sized peg people; they also make "Boy" sized dolls, so you could make baby Jesus smaller than the others.  I didn't want Daddy's Girl to eat or lose the little baby Jesus, so I painted Him on Mary.  (The "Man" size are still a choking hazard, so be watchful if you have babies/toddlers.)

Wooden Peg People Nativity Set—Step 1

First, I painted their heads.  The nice thing about painting all the Nativity People at once is that by the time you've finished the last one, the first is dry already and you can go right to the next step.

Wooden Peg People Nativity Set—Paint Their Clothes

Then I painted their clothes.  I decided this was a "less is more" kind of project, and painted their clothes really simply.  

I painted Mary in her traditional blue.  Joseph is dark blue so he feels like he belongs with Mary.  The shepherds are grey to show their humble state in life. (I would have done brown, but I couldn't mix a nice color.)  The three kings are rich, jewel-toned colors.  And of course, the angel is white.

I feel like the nativity set is already identifiable, but that's probably just me.  Let's add a little something, while still keeping them simple.

Wooden Peg People Nativity Set—Mary and Joseph

Mary is holding baby Jesus and wearing the blue head covering.  I didn't know what to do for Joseph; most nativity sets I've seen have him holding a shepherd's crook, which doesn't make any sense at all for the carpenter that he is.

Wooden Peg People Nativity Set—Angel

 The angel gets a halo and wings.


Wooden Peg People Nativity Set—Shepherds

The shepherds get a shepherd's crook and a lamb.

Wooden Peg People Nativity Set—Three Kings, Wise Men

And the kings get crowns.  I thought about giving them gold, frankincense, and myrrh, but I went back to "less is more."

UPDATE:  I realized these guys should have a coat of clear polyurethane to protect them, but I haven't done that yet.

Wooden Peg People Nativity Set

I think this little nativity set turned out so cute.  :)  

 Merry Christmas, everybody!  Only nine more days!

Don't miss the other posts in our Sew a Song of Christmas series!
"I'm Dreaming of a White Christmas" Tulle Wreath
"O, Christmas Tree" Glitter Ball Ornaments
"What Child is This?" Mini Quilt
"Blue Christmas" Simple Holiday Skirts
"Rudolf the Red-Nosed Reindeer" Ornaments
"Let It Snow" Mitten Ornaments

06 December 2013

"What Child is This?" Mini Quilt Tutorial from Al of Shaffer Sisters

Today, the wonderful Al is sharing with us her mini quilt inspired by the song, "What Child is This?"

She and her sisters, Jo and Scary (aka SarahLynn), have some great projects at their blog, Shaffer Sisters.  One of their projects I'm excited to try is the Minky Crib Sheet.  (How amazingly comfortable does that sound?!)  And they do a lot of sewing for girls (I love this cute dress) and for boys (like this awesome shirt).  You should definitely go check out their blog!

But first, the "What Child is This?" mini quilt.  On to you, Al.

~~~

Little Girl and Santa
This was taken at a church Christmas party when Ty was 18 months old.
I love Christmas. I treasure the peace, hope, and love that I feel when I think about the true meaning of the season. Too often it seems like the Christ in Christmas is lost to bright flashing lights and an excessive focus on Santa and the entitlement of gifts.
http://shaffer-sisters.blogspot.com/2012/12/merry-christmas-from-us-to-you.html
Christmas Towel Tutorial & Free Printable
I love my Lord and Savior, Jesus Christ, and this season (as with years past) it is my goal to give something that keeps the focus on my Redeemer. The King of Kings was born into the most humble of circumstances, but that didn't make Him less. His birth was marked by the fanfare of angels, the brightest star in the sky, and the company of humble shepherds and faithful Wise-men from afar. From a young, pure, and loving mother He was born. I'm sure that Mary, just like all new mothers, felt an overwhelming love of this gift straight from heaven, but also an uncertainty that she could be the best for of someone so precious and perfect.
"What Child is This?" Mini Quilt
This story is portrayed in the hymn of "What Child is This?"  It is one of my favorite Christmas songs. One day while thrift store shopping I found "Quilt a Colorful Christmas" (contains 39 projects) and it cost only $2. You should probably know that I love quilts so getting it was a no brainer. One of my favorites from the book was the Mother and Child project which I decided to share with you today.

This was such a fast and easy project. I thought it would entail paper piecing or something a little more complicated, but it was simply just fabric, sew-able heat-n-bond (they recommended fusible web, but I had to make due with what I had), stitching on top of the applique, and then putting it all together.
"What Child is This?" Mini Quilt 2
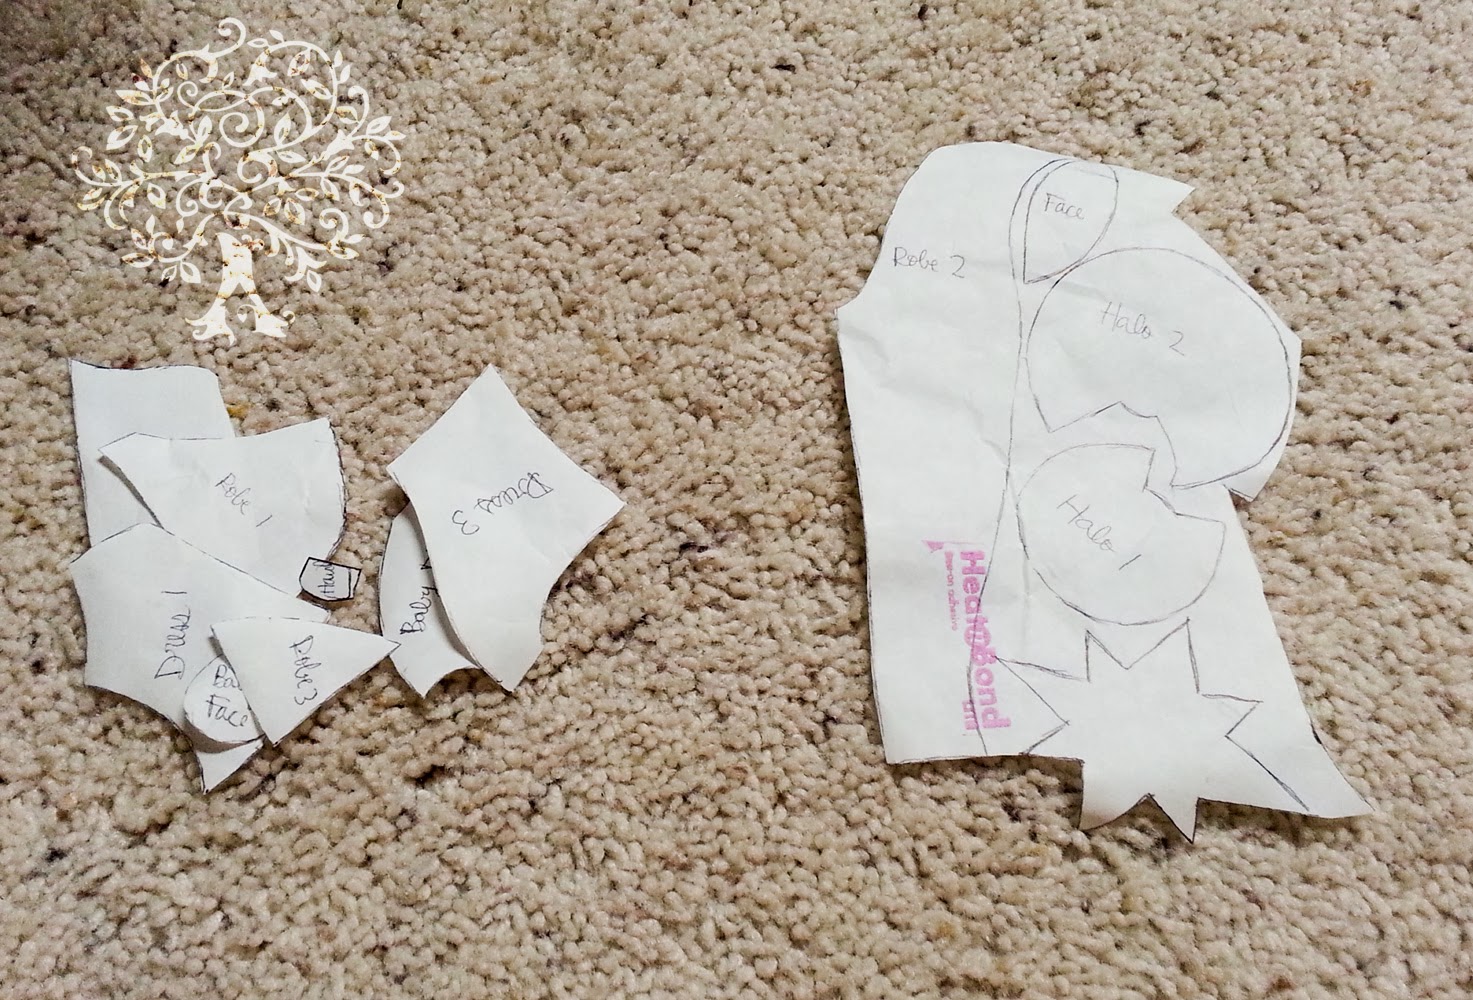
Sadly I can't give this pattern to you since it's not my design, but you can do something similar to this by just sketching it out. Then add 1/8-1/4" (on your sketch with a dotted line) to the pieces that lay underneath the pieces on top (so you don't have any unwanted dead space, but you will be able to trace out your pattern next). Then you can go through and trace out each little pattern pieces onto printer paper. And wala you have your own pattern.

Since I don't want you to miss out if you want to do something like this and feel like you lack the artistic ability necessary, I came up with my own design using the instructions above. I am sharing the pattern with you and tomorrow you can come over to my blog and see the finished project and share yours if you decided to make one as well.
"What Child is This?" Mini Quilt Pattern and Placement Guide
What Child is This Placement Guide & Pattern Pieces (print to be 8.5" x 11" size)
You will need:
Pattern pieces
Scraps of 6 different colors (plan appropriately and make sure there's enough)
(1) blue background fabric 8" x 6 3/4"
(2) 3 3/4" x 6 3/4" for top and bottom border
(2) 3 3/4" X 13 1/2" for side borders
(2) 2 1/4" x width of fabric for binding (piece together to have one long strip)
(1) 12 1/2" x 13.5" piece of quilt batting
*When sewing use 1/4" seam allowance.
"What Child is This?" Mini Quilt Pattern Pieces
After printing or designing your pattern pieces place then fusible webbing or sew-able heat-n-bond above the pattern (paper side up) making sure you trace all the pattern pieces. After that it's just a matter of cutting out the adhesive pattern pieces and ironing them to your scraps of fabric, cutting them out of the scraps and removing the backing paper.
"What Child is This?" Mini Quilt — Fuse on the webbing
To put it together you can look at your original picture for a placement guide and place it on the blue background. Don't iron until you are absolutely ready. When I did it, I just did a little at a time (starting at the bottom and making my way up) because I wanted to be able to adjust if it shifted. Once it's all ironed you can stitch around the edge of the applique with a small zigzag stitch in a clear or neutral thread so that the design will stay.
"What Child is This?" Mini Quilt Top
After that it's a matter of adding the border (top and bottom first then sides) and putting it all together like a mini quilt. There's a little extra length on the side pieces (1/4") that you can trim down and square off when you are done. All that will be left is to quilt (what design/method you choose) and bind. If you don't know how to do binding you could read this tutorial on binding.
"What Child is This?" Mini Quilt 3
Thanks so much for letting me share my love for the Lord this Christmas season.

With Love,
Al


~~~
Be sure to check out the other posts as we Sew a Song of Christmas!

02 December 2013

"I'm Dreaming of a White Christmas" Tulle Wreath Tutorial

Today we're kicking off my newest blog series, Sew {Cook, Paint, Craft} a Song of Christmas!  I've invited some wonderful bloggers to join in, and together we will be showing you our projects inspired by Christmas songs.  We'll be posting Mondays, Wednesdays, and Fridays until Christmas, so be sure to check back often!

Now, on to the first project!

When I was a kid, we always had snow at Christmas.  (Sometimes we even had snow for Halloween!)  My siblings and I built snowmen, made snow angels, and walked to school in five feet of snow, uphill both ways.  Okay, I don't think it was uphill even one way.  But still, there was a lot of snow.

Now we live where it's warm most of the year.  And I love being warm.  I love playing in the pool, going on walks in the warm evenings, and wearing short sleeves year round.  (Although I did that when I lived in a cold climate, too.  That's what coats are for.)

I love warm weather, but something about Christmastime just makes you want snowflakes.  And hot chocolate.  And sparkly, fresh snow, glistening everywhere.  And a fire crackling in the hearth.  (Yes, I really do like to be warm.)

So here's my homage to days gone by, back when I was a kid and we always had snow for Christmas, my "I'm Dreaming of a White Christmas" tulle wreath.


I'm Dreaming of a White Christmas Tulle Wreath Tutorial

When I was making this wreath, I told Boo it was a winter wreath because I wanted it to last for all of winter, not just until Christmas.  

"It looks cold."

Mission accomplished.  :)

You know I'm always up for a quick and inexpensive project, and this wreath certainly is that.  

Tulle Wreath Supplies

What you need:
A wreath blank.  I cut mine out of cardboard--two layers, to give it a little more body.  After I took this picture, I decided to cover the wreath blank with paper to be sure no brown would show through.  Ribbon would also work, but why waste pretty ribbon on something that won't be seen?  My wreath blank is 8.5 inches in diameter, with the inner circle 6 inches.

Tulle.  Buy it on a spool, rather than off the bolt--it's so much easier that way.  I bought one spool each of white, light blue, and glittery white.  I'm not sure how much I ended up using, but I bet less than half of the tulle I bought.

Extra, optional stuff to personalize your wreath.  I ended up using two of the three sizes of beads I bought, and a length of navy blue ribbon.


Cutting tulle the easy way

Cut your tulle into strips.  I cut mine to 14 inches long, but it will depend on how big your wreath blank is, and how big you want your finished wreath to be.  I saw this cool trick on Pinterest somewhere for quickly and easily cutting your tulle to even lengths.  Just wrap the tulle around a piece of cardboard the length you want your tulle to end up; cut down one side, and there you go.  (The cut size is twice the finished size, since you double the tulle over when you tie it on.  Make sense?  Okay.)

How to Tie Tulle step 1

Fold the tulle in half and lay it under the wreath blank...


...And then pull the loose ends around the top and through the loop.  Squish the knot right next to the one before.  If you want to.  I wanted my wreath to be nice and full, so I squished my knots as close together as I could.

{This is the same technique you use for making those cute tutus you see all over, by the way.  Just tie the tulle around elastic, or my favorite, ribbon, and you have a tutu!}

I alternated colors white, blue, white, glittery, white, blue, etc.


Finished Tulle Wreath, version 1

I like how the wreath looks at this point, but I felt it didn't look quite finished.  So I sewed my sparkly, icy-looking beads on to the wreath, sewing through the knots.  You could probably use hot glue to attach your beads, but I wanted to be able to remove mine if I decided the wreath was better off without.


Sew Beads onto the Wreath


And I added a ribbon to hang the wreath. The wreath was up too high without the ribbon, but with it--perfect.


I've never had a wreath on my door before.  I feel very grown up.  

19 October 2013

All Autumn Pumpkins Tutorial

 Last year about this time, I had a little tiny baby, a three-year-old, a Halloween party at church that I'd committed to bring table decorations to, and almost no time at all!  What Halloween decoration could I make really quickly?

If you were following my blog a couple years ago, you know I love pumpkins for Halloween/Thanksgiving decorations.  So I came up with the perfect quick, easy, and cheap Halloween decoration--pumpkins made from a 2x4!  And these pumpkins transition seamlessly from Halloween to Thanksgiving, so I was ready for all of autumn.


All Autumn Pumpkins Tutorial

These pumpkins are so easy to make!  Watch this.

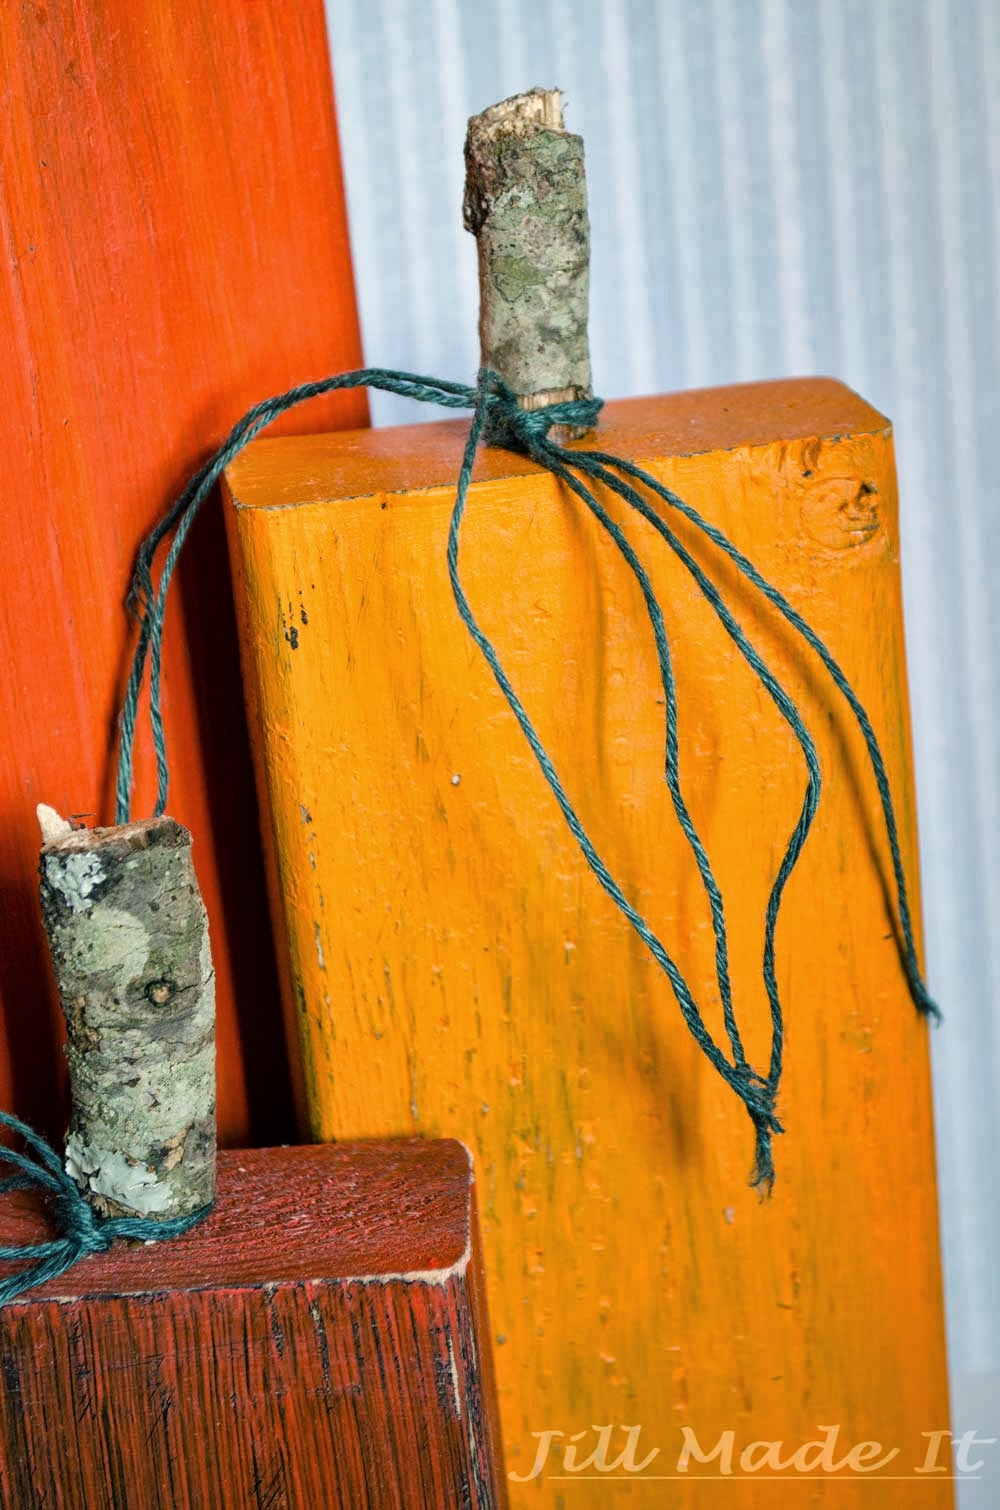
Short lengths of 2x4 + black spray paint + orange paint + sandpaper to distress + drill holes in the tops + glue in short, fat sticks from the backyard (or dowel rods, if you'd prefer) + raffia/hemp tied around pumpkin "stems."

All Autumn Pumpkin Tutorial Close-up

And done.

If you like pumpkin decorations like I do, you may want to check out the other pumpkin projects I've made.  

Fabric Pumpkin.  I didn't make a tutorial for this one, but I did find you some tutorials for similar projects.

14 August 2013

Quilting Pictures

Free-form Quilting Fish Wall Hanging


A while ago, Jill found this book about quilting pictures.  You're basically making a fabric collage, except it looks nicer than the paper collages you (or at least, I) made way back when.  Originally, Jill, my mom, and I were all going to work on it together.  Jill made this cool beta fish design, the three of us shopped for the fabric, we got started, and somehow it ended up being my project alone.  

Free-form Quilting Fish Wall Hanging, showing loads of skinny sections

My goodness, it took forever.  Part of the problem was that I had decided to do a design with loads of skinny sections.  Don't these look fun to cut out at each step? Time consuming, but worth it.  

My two biggest problems are ones that I'd have no matter what I was working on.  I like quilting, but I usually only sew when the once-a-month quilt group meets.  I also seem to have some curse that causes my sewing machine to have tension issues or otherwise hate me.  I might spend so much time fixing tension issues and taking out unstable seams that when it's time to go home from my quilt group, I'm just a few stitches past where I started.

Free-form Quilting Fish Wall Hanging Back

But now the fish done, and it looks pretty cool, if I do say so myself.  The back looks almost as good as the front.  It looks like a whole cloth quilt.  If you’re unfamiliar with that, it’s exactly what it sounds like.  You take your fabric, don’t cut it up, lay it on your batting and backing, and quilt a design on it.  Bind and done.  

Even though this was a lot of work, it was fun to make, and I love the end result.  It’s nice that it’s not as precise as most sewing is.  Wobbly stitching?  Do it a few more times, and people will think you meant to make it wobble.  Or ignore it, and no one will care, even if they look up close.  My mom and sister and I bought new fabric for this, but it would be a great way to use up scraps, maybe even funky patterns that you hope were in style when you bought them but now would make a fashionista faint with fright.  In short, it’s fun, forgiving, and you should give it a try.  You just might want to pick a simpler design than my beta fish.

Free-form Quilting Fish Wall Hanging Close Up. Aka, Angry fish is judging you.

Would you like a tutorial about how to quilt your own pictures? 


26 June 2013

Easy, Durable, Take-With-You-When-You-Move Growth Chart

I found this guest post I'd written, oh, probably almost two years ago.  The blog I guest posted on doesn't seem to exist anymore, so I guess I'd better repost my tutorial here!  Well, without further ado, here's my Easy, Durable, Take-With-You-When-You-Move Growth Chart.

. . .

Hi, everyone!  I'm Jill from Jill Made It, and I am really excited to be here today!  I love creating things, designing new things, and generally making my little world a prettier place.  I also love teaching people the things I learn, hence writing tutorials!


When my siblings and I were growing up, my mom kept track of our heights on growth charts.  Unfortunately, the early ones were made of paper and didn't survive.  Next, she marked our heights on a door...and then we moved.  Now that I'm a mommy, I want to keep a record of my munchkin's height, too, but in way that will withstand life in general.  So I came up with the Growth Stick.


(Yes, it's intended to be hung on the wall, but I couldn't get any good pictures outside.)

It is so easy and cheap, yet it will last right near forever.  Love that kind of project.

All you need to make it are:
 a 2x4x6 length of wood
sandpaper
some semi-gloss paint (mine was leftover from refinishing a dresser, which made this project even cheaper!)
two sharpies or other permanent markers (one fat, one medium or thin) 
a paintbrush (a large foam one)
a yardstick
and picture hanging hardware of your choice

First, sand down your board.


(Don't be like me and fail to realize your board needs sanding until after the first coat of paint.)

Paint all sides except the back.  (It'll never be seen anyway.)

Now take your smaller sharpie and mark the center of your board (longways--you know, like a hotdog).  You'll want to mark it near the top (but not at the very top--you'll see in a minute), then at the bottom and middle. These are just little marks to make sure you get your line straight.  (Sorry I forgot to take a picture of this.)

Next, use your yardstick and fat sharpie to connect these marks into one nice, straight line.


Use the space you saved at the top for your title.  I tried to come up with something cute, but decided to go with simple instead.


The next step is to mark your measurements.   First, determine how high on the wall you want to mount the growth chart.  I think we picked 7 inches off the floor.


This is the main reason for the skinny sharpie.

Make any touch-ups.

Mount your hardware, then hang your brand-new, super-durable, highly transportable growth chart.

Now all that's left is to mark everyone's heights!

21 March 2012

"Sometimes Being a Brother" Nursery Decor--Tutorial


Here's the finished crafting project I mentioned in my last post.  I have a friend who's about to have her second baby--another boy.  I made this as a present for her, and so I wanted to give the gift to her before I posted about it.  Wouldn't want to spoil the surprise!

I've barely used my Silhouette since I got it for Christmas.  Shame on me, I know!  I was (and still am) excited about all the many things the Silhouette could help me make...but choosing exactly what to do has been a little harder.  That and my pregnancy-induced tiredness and lack of crafting motivation for several months that is just starting to abate, plus wanting to focus more time on my art and on Mommy School...  But with this friend giving birth early next month,  I had motivation, inspiration, and a deadline!  Deadlines are always very helpful for me.

I wanted to make a sign/wooden wall hanging/whatever with a quote on it so I could use my Silhouette to cut the vinyl.  I also wanted to make a present that was kind of for the mommy and kind of for the big brother, so I was excited when I found this quote:

Sometimes being a brother is better than being a superhero. 
--Marc Brown

How cute is that?  Of course the three-year-old big brother won't care about it now, but I bet he will like it when he is older (and wanting to be a superhero...and is able to read).   

The sign was really easy to make, so much so that I didn't think there was a point to have in-progress pictures.  I'll just explain quickly what I did.

I asked Mr. MadeIt to cut out a 7 1/2" x 9 1/2" rectangle out of some scrap wood we had hanging around.  (Actually, it was a shelf from a wall unit we decided to get rid of.  Let's hear it for recycling!)

Then I spray painted the wood with primer.  I don't think this part is necessary, but I do think I wouldn't have gotten the subtle texture I liked if I hadn't primed the wood first.

Once the primer dried, I painted the wood with tole paints.  I bet whatever acrylic paints you have on hand would work just as well.  Since I wanted the sign to have a subtle texture, I applied the paint unevenly, letting some areas be darker, and others areas lighter.  Because of the primer, the paint didn't soak into the wood, allowing me more time to push it around with the paintbrush to get it just how I wanted it--smooth, but with tonal variations.  (I used Hunter Green + Charcoal, by the way.  For the edges, I had more Charcoal in the mix, so they would be darker.  For the back I mixed the green with black, to make it darker still.)


(So you can see the edges.)

And, of course, I had to make up the design so my Silhouette could cut the vinyl.  If you'd like to use my file, you should be able to download it here.  (This is my first time using Google Docs.  Let me know whether or not this link and the download work!)

If you'd rather make your own file, I used the font Haettenschweiler.  (Goodness!  I'm glad I don't have to actually pronounce that!)

I suggest using transfer paper when applying the letters--I did it without and it was a ROYAL PAIN.  It took forever to get those words on straight!

After that, I though the wood needed to be sealed and the vinyl stuck down permanently.  (No need for inquisitive little fingers to take my hard work apart.)  So I coated the whole thing with my homemade Mod Podge, which is just school glue watered down a little.  (Apply with a paintbrush, and be sure to wash the brush out really well afterwards.)

And that's it!  Except for spending forever getting the words on straight, this was a really quick and easy project.  (I'll have to get myself some transfer paper for next time.)

I hope you enjoyed the tutorial.

Happy crafting!

11 January 2012

My Foray into Floral Design (Plus hints from someone who knows what she's talking about!)


So, I went to a Christmas party last month (obviously) and the centerpiece on the dessert table was gorgeous.  It was just calla lilies and some red berries in a tall vase--so easy, but so pretty!  Well, I was currently vase-less, so I asked for a tall vase for Christmas.

No tall vases, but I did get a Jo-Ann's gift card (hurray!) for Christmas, so I picked one out for myself.  :)

I had some silk flowers left over from my wedding--that's actually Mr. MadeIt's boutonniere sitting on the right of the vase--so all I had to buy was the vase and the little glass marbles to keep the vase stable.

Well, I don't know much about Floral Design, but my sister majored in just that department, so here she is to give you some tips!

Hi.
Well, this centerpiece is for a table where people will sit.  With that placement, there are two options:  tall and thin, like what Jill did, or short.  The point is to make sure it doesn't block people's view of each other--otherwise, someone will put it on the floor.  
When using a tall, thin vase, you can use long stemmed flowers like Jill, but you don't actually have to.  If you only have shorter flowers, you can do an arrangement that is completely inside the vase.  (I actually think live flowers submerged or floating in a tall vase are beautiful.)  

Just some basic things to consider: 

Scale:  Keep the centerpiece components in proportion to each other and to their surroundings.  A small arrangement on a big table will be underwhelming.  One large arrangement, or several small ones will look better.

Color:  The basic color schemes are monochromatic, analogous (using colors that are next to each other on the color wheel---red, orange and yellow, blue and purple, etc.),  and complementary (colors that are opposite each other on the color wheel---red and green, blue and orange, yellow and purple).  Using complementary colors will give you high color contrast, and using analogous colors will give a softer contrast.
For the purpose of flower arrangements, green is not a color unless you're using green flowers.  All plants have green, so it's ignored.  So, you don't have to worry about making the foliage fit your color scheme.

Feel/Mood: Consider the feeling you want to create or complement.  Big, bold flowers for a little girl's fairy princess birthday party might not be the best choice.  Light airy flower and leaves might fit better.  Also, do you want the arrangement to be dramatic or subtle/soft?  A show-stopper or an accent?

Balance: An arrangement needs to look stable.  If it has a big bloom stretching way over past the edge of the vase, unless it has something to visually balance it, it will make people uncomfortable because it will look like it's about to fall over.  Large things have more visual weight then small things (surprise!), and dark things have more visual weight than light colored things.  Sometimes you can even provide balance with a knickknack next to the arrangement.

Symmetry: You probably already know the two kinds of symmetry--symmetrical and asymmetrical.  Symmetrical things are probably easier for beginners.  For asymmetrical arrangements, just keep in mind that things need visual balance.  

Here's a rule that is helpful for any artistic endeaver: step back once in a while.  It will help you see what's working and what isn't.  

Finally, have fun and experiment!  Remember, unlike painting, drawing, sculpture or other art forms, your materials are beautiful to begin with.  Your job is to show them off.

21 December 2011

3D Snowman Wall Hanging Tutorial

You wanted a tutorial, so here it is!  Thanks, by the way.  Tutorials take a while to write, so it's always nice to know they're wanted.  

(Pardon the poor photography, please.)

First off, you need to design out your wall hanging.  (I didn't make out any patterns last year, and now the wall hanging is across the country, so this tutorial is more of guidelines than anything else.)  I decided to make a little family of snowmen to represent my little family, so it has  Mommy Snowman (Snow-woman?),  Daddy Snowman, and a Little Girl Snowman.


Now, make your patterns and gather your materials.  You need just general sewing supplies, plus batting, and anything special you want for dressing up your snowmen (buttons, etc).


Cut your back and front fabrics to the same size (whatever size your design calls for).  Part of the reason why I don't like the cutting stage of quilting is that sometimes the ruler slips and I gouge my fabric.  But if you put a piece of non-slide shelf liner under the ruler...Really, I don't know why I didn't think of that before.  So much headache could have been avoided.


Now arrange your pattern pieces on the fabric front.  Remember that your available space will shrink a little bit when you add the binding.  I drew my patterns without seam allowances to make this step easier.  Any adjustments needed?  Alright.  Moving ahead.


Next, cut out your snowmen bodies.  Remember to add seam allowances!  You are pretty much making little tiny pillows--you need to cut out a front and back of everything.  The green fabric there is what became the SnowMom's apron, by the way.

Also cut out (without seam allowances) all of your snowman body pieces out of batting.  

If you are going to sew on the snowmen's faces, do that now.  You could also paint faces on, glue on little buttons...

For each part, stack the white fabric circles right sides together, with the batting on top of that.  Sew around, leaving an opening to turn.  And turn.  (Sorry I didn't get a good picture of this.)  If your nice little circles don't quite stay nice and circular, that's okay!  Real snowmen aren't made of perfect spheres, either.  Funny angles = added charm.


You can dress your snowmen first, or sew them together first; whatever works for you.  Clothes that will be tucked under another snowball (SnowMom's apron, Little Girl's scarf) will need to be put on first, though.  When you do sew the snowmen together, you'll do that with little stitches on the back, as in the picture.

I don't have any pictures of making the clothes (except for the shot with the SnowMom's apron you already saw) because I was just winging it.  I do suggest trying to cut your pieces a little too large--working with such tiny pieces of fabric is difficult to start with; working with slightly too small fabric is even more of a pain.


{Snowmen with Clothes}


Lay out your finished snowmen on the fabric front with the patterns for your embroidery.  Everything still fit?  Good.  Pin everything in place, and sew the little snow family in place.  (Go from the back and just catch the back of the snowmen.  Sorry--no picture again.  At least I got better about tutorial pictures since I made this project last year, right?)

I made my embroidery double as my quilting for this wall hanging, so at this point, I sandwiched together the front (complete now with snowmen!), batting, and backing.  (See this post about putting together a quilt if you're unfamiliar with this step.)  

I backstitched the words.  I just free-handed the letters with my patterns as guides.  (Since I didn't take any pictures of the embroidery process, here's a link to a backstitching tutorial.  She doesn't mention how to end the thread; for this particular project, you could just tie a small knot on the back of the wall hanging.)

But this does make the back of your wall hanging look a little messy.  I found out after the fact that you can quilt your wall hanging with muslin (or other neutral-colored scrap fabric) on the back instead of your backing, and then add the backing on top of that when you sew on your binding!  Clean, smooth backing, nicely-held-together front/batting--sounds good to me.


{So here's my wall hanging all quilted...}

Next, add the binding (and backing, if you did it the more polished way).  If you need some help with making or applying your binding, go here.


There really is snow place like Home.

Happy crafting.