Showing posts with label toys. Show all posts

16 December 2013

"Away in a Manger" Sweet and Simple Nativity

Do you ever feel like Christ gets a little lost in the Christmas season?  I do.  So I wanted today's Sew a Song of Christmas project to remind us what Christmas is really about.

I did already make a wooden nativity set a couple years ago, but there's always room for another nativity set, right?   We will have fun playing with these cute little guys and teaching Boo and Daddy's Girl about when Christ was born.

"Away in a Manger" Sweet and Simple Nativity

This project was inspired by these adorable Princess Peg Dolls.  When I showed Boo this tutorial, she decided she wanted to paint a princess set.  So she did.  And they turned out really cute.  I'll have to show them to you later.
  
Wooden Peg People Nativity Set—Supplies

Besides the regular painting supplies, all you need for this project are eight wooden peg dolls.  I found mine at Hobby Lobby.  They come in packs of eight, so that worked out great!

These are the "Man" sized peg people; they also make "Boy" sized dolls, so you could make baby Jesus smaller than the others.  I didn't want Daddy's Girl to eat or lose the little baby Jesus, so I painted Him on Mary.  (The "Man" size are still a choking hazard, so be watchful if you have babies/toddlers.)

Wooden Peg People Nativity Set—Step 1

First, I painted their heads.  The nice thing about painting all the Nativity People at once is that by the time you've finished the last one, the first is dry already and you can go right to the next step.

Wooden Peg People Nativity Set—Paint Their Clothes

Then I painted their clothes.  I decided this was a "less is more" kind of project, and painted their clothes really simply.  

I painted Mary in her traditional blue.  Joseph is dark blue so he feels like he belongs with Mary.  The shepherds are grey to show their humble state in life. (I would have done brown, but I couldn't mix a nice color.)  The three kings are rich, jewel-toned colors.  And of course, the angel is white.

I feel like the nativity set is already identifiable, but that's probably just me.  Let's add a little something, while still keeping them simple.

Wooden Peg People Nativity Set—Mary and Joseph

Mary is holding baby Jesus and wearing the blue head covering.  I didn't know what to do for Joseph; most nativity sets I've seen have him holding a shepherd's crook, which doesn't make any sense at all for the carpenter that he is.

Wooden Peg People Nativity Set—Angel

 The angel gets a halo and wings.


Wooden Peg People Nativity Set—Shepherds

The shepherds get a shepherd's crook and a lamb.

Wooden Peg People Nativity Set—Three Kings, Wise Men

And the kings get crowns.  I thought about giving them gold, frankincense, and myrrh, but I went back to "less is more."

UPDATE:  I realized these guys should have a coat of clear polyurethane to protect them, but I haven't done that yet.

Wooden Peg People Nativity Set

I think this little nativity set turned out so cute.  :)  

 Merry Christmas, everybody!  Only nine more days!

Don't miss the other posts in our Sew a Song of Christmas series!
"I'm Dreaming of a White Christmas" Tulle Wreath
"O, Christmas Tree" Glitter Ball Ornaments
"What Child is This?" Mini Quilt
"Blue Christmas" Simple Holiday Skirts
"Rudolf the Red-Nosed Reindeer" Ornaments
"Let It Snow" Mitten Ornaments

11 December 2013

"Rudolph the Red-Nosed Reindeer" Ornaments (that Give You a Kiss)

Today's guest post is by my good friend Stephanie!  She's the talented photographer behind Pink Pearl Photography.  She also writes the blog Life as a Wife, where she posts about her crafting, cooking, and mommy adventures.  She also has great party and date ideas!  How cute is her Whoville Christmas Party?  Or her Clue Date?

Thanks for joining us today, Stephanie!
~~~

Growing up, I have memories of my mom make a bunch of ornaments for our themed tree. One of my favorites she made were these Reindeer ornaments
They were my favorite because she would hide chocolate Kisses inside 
This year I made some for my tree and some to give away. I love these little deer they fill me with Christmas memories from my childhood, and memories of my dear mother who always filled every holiday with cheer!
I used my mom's pattern but tried to put my own spin on them by adding some color...

for instructions on how to make this ornament click here.

~~~


Be sure to check out our previous Sew a Song of Christmas projects!

12 October 2011

Pumpkin Puzzle Blocks!

That's it:  It is officially autumn.  The leaves are turning red, our garden (tiny as it is) is, well, about done of life, and my mom and I finished bottling applesauce this afternoon.  (Homemade applesauce is totally worth it, but, whew! what a job!)


Anyways, now for my favorite craft from the Craft Night:  Pumpkin Puzzle Blocks!

The original idea for these blocks was to cut six pictures of your family into 2x2 inch squares, and mod podge the pictures onto little 2x2 inch blocks, so you have a cute puzzle of your family members.

But I thought, It is October--wouldn't it be cute to make a Jack-O-Lantern puzzle?  What if you could have different faces, and be able to interchange the parts...

Maybe put three different mouths together...


Or have one eye have two pupils, and the other have none...


Yep, I wanted to do it.

Ready to make one, too?  You need:
to print out my pumpkin designs.  Or make your own.  If you make your own, be sure to have the points where the features cross the cut lines match on all the pumpkins; that way, each block will line up with blocks from other faces.  (Great idea, Mr. MadeIt!)  My pumpkin designs are at the bottom of this post.
nine 2x2 inch wooden blocks
Mod Podge (or water-down regular school glue to a nice paintable consistency)
 foam paintbrush
something to pour the Mod Podge on

Cut the Jack-O-Lanterns on the cut lines.  I did one face at a time for ease of organization.  And because I was running back and forth from one craft to the other as I waited for each side's Mod Podge to dry.

Coat one side of your first block with Mod Podge.  Help me out, experienced Mod Podgers--should it be a thin or thick coat?  Because I sometimes had to squish down ripply paper regardless.  Another lady there did say that you could use a library card, etc, to carefully push out bubbles, but I didn't try it.  (Why?  Well, mostly because I was hurrying, trying to get all three crafts done that night.)

Anyways, after your thin-or-thick coat of Mod Podge, carefully put on one of your pumpkin squares.  You have to get it where you want it pretty quickly, while the Mod Podge is still really wet, because once it starts to dry, the paper's not really going anywhere.

Put another coat of Mod Podge on top of the paper.  Make sure to get the edges really well, since that's where these blocks will take the most beating when they get played with.

Repeat with one side of each block.

Take a break while that side dries.  (If I'd been at home when I did this project, I totally would have taken a hair dryer to it--I'm not much of one for waiting for things to dry.)

And just do that for each side.   Be sure to have the same feature always on the same block.


Like so.

Now you can put together your jack-o-lantern however you'd like!


Um, that's not what I meant, Boo, but why not? 

Happy crafting!


{Here are the jack-o-lanterns to print out.  Remember that each pumpkin needs to be 6x6 inches, so make sure your computer doesn't try to scale them when they print.}


(Right click, "Save to Downloads" or similar command)

11 December 2010

Wooden Nativity Set {with free pattern}


My husband and I wanted Hailey to have a nativity set that she could play with, and that would also look nice decorating out home.  So we made her her very own set out of wood.  It was lots of fun to do, and Hailey loves to play with it.

You will need:
my pattern :)
pencil or pen for tracing onto the wood
wood--we used white pine, 4 x 12 x 1
        --some 1/8 inch thick wood for star and angel wings
scroll saw
sand paper
wood glue
paint (and other painting supplies, you know)
optional:  a spray sealant


Here's the pattern.  It's sized to print on a regular 8.5x11 sheet of paper.  (That's why the stable is cut in half.)


After you print and cut out the pattern, arrange the pieces on your wood.  


 Joseph had the wonderful idea to use pushpins to hold the pattern in place for tracing.


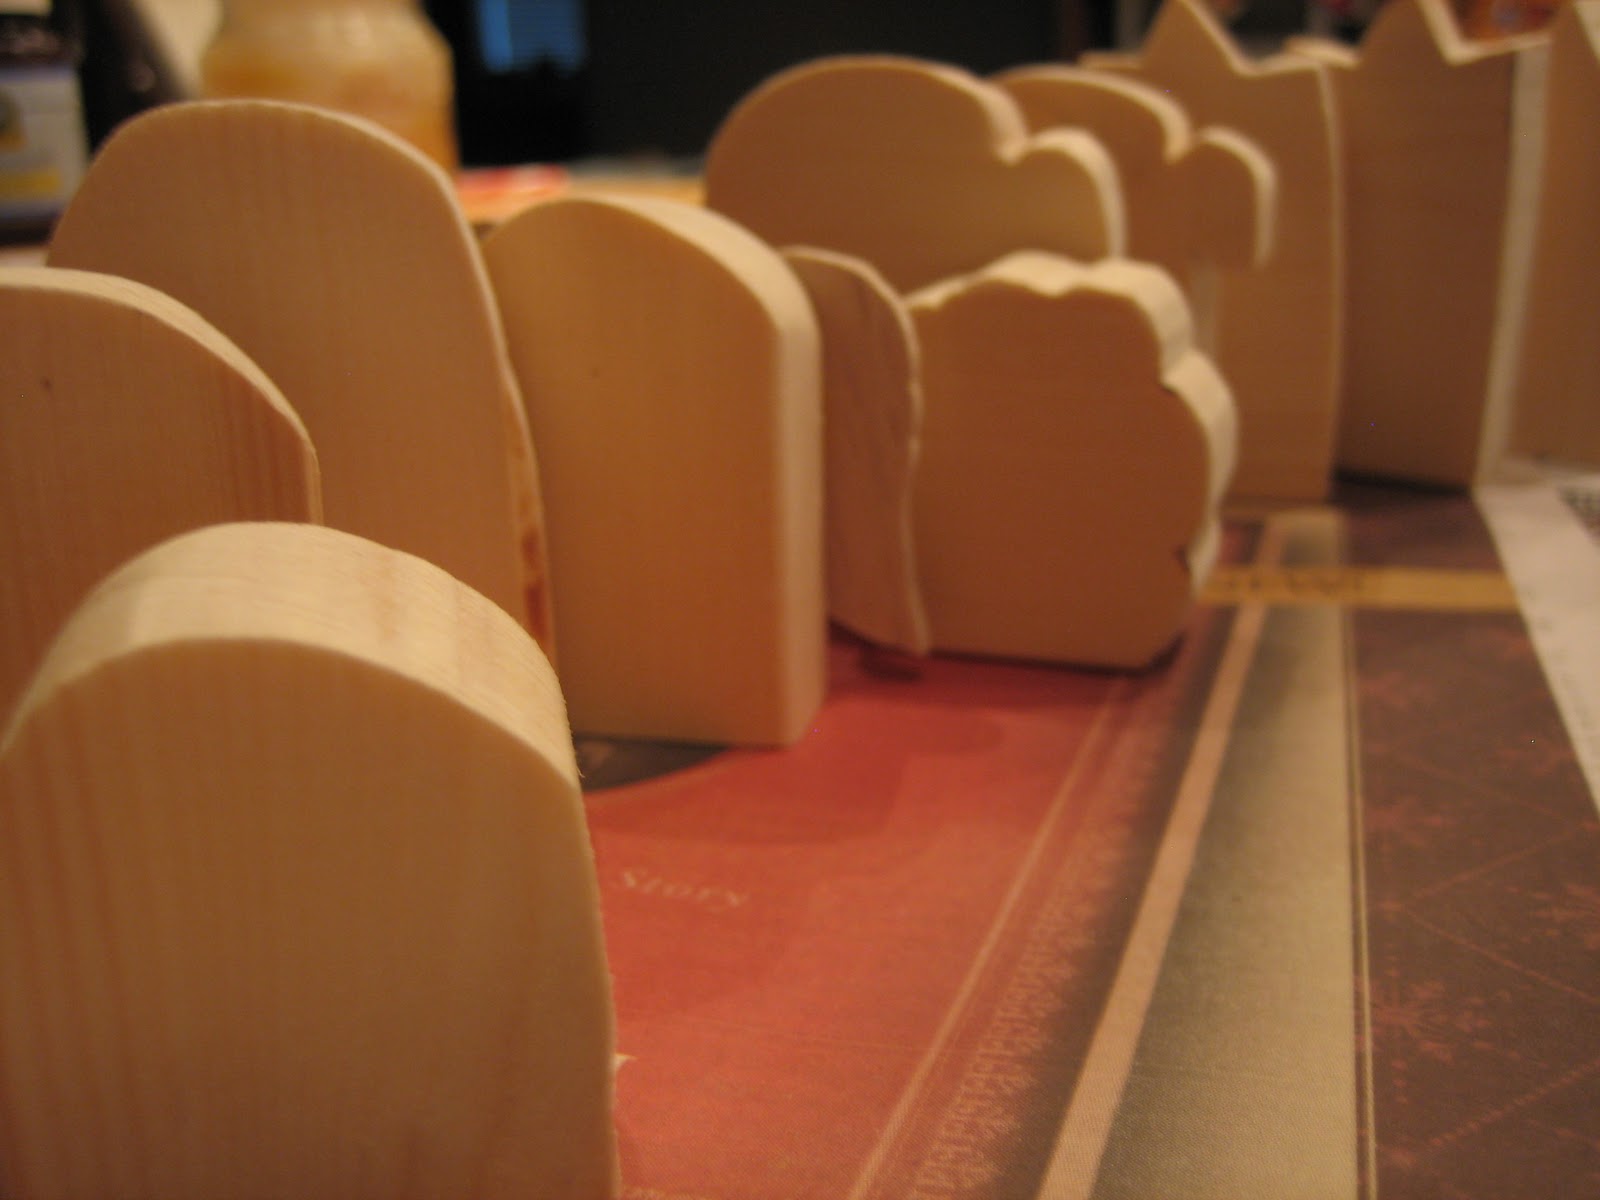
Here it is all traced out.  Avoid knots if you can.


Cut them out.  Sand away any splinters.

Glue the wings on the angel.  (We ended up cutting the wings in half and gluing each wing on separately.)  Glue the two halves of the stable together.  Don't glue the star on just yet.

Once the glue is dried and set, paint everything all cute.  :)  This is the fun part.  You can paint them like we did, or completely different.  If your kids are old enough, let them help.  :)

After everything's painted and dry, glue the star onto the joint in the stable.  It covers up any imperfections in glueing.  (Always a good thing.)

Spray on the sealant, if you want.

Now you're done!


Here's the finished nativity set, in front of the nativity Hailey isn't allowed to play with.

10 November 2010

Stuffed Animal Elephants


My daughter is one year old, and she has a cousin who is two, and another cousin due in February. And they're all girls! So for Christmas presents this year, I wanted to make all the cousins matching stuffed animals. The pattern I wanted to use was going to on sale the day after I went to the store (of course) for $1 instead of $15 or so. That's fine; I'd just buy it online (the store it too far away to go back just for that). But what do you know, but you can't buy patterns from their website. (???) So I decided to see what Google could do for me by way of free patterns. Sadly, the answer was not much. Anyway, I decided to design the pattern myself. I just love to design things, to figure out how to make it work, and make it exactly the way I want to.
And to help everyone else out there who wishes they didn't have to pay $15 for a pattern, I'm sharing it with all of you.
I sized the pattern so that I could print it out on regular 8.5 x 11 paper, hence the elephant body being cut in two. If you'd like this pattern, right click on the pattern pieces, save to your computer, print them out, match them up, and tape them together.
The patterns include 1/4" seam allowances. (But in hindsight, I think the skinnier sections--the back part of the underbelly, namely--should be wider.)
Remember to sew everything right sides together so the seams are on the inside.

What You'll Need:
Some fabric. I used fleece, but I imagine most kinds of fabric would work. I got three elephants out of a yard.
The normal sewing supplies

Lay the pattern out on your fabric and cut.

Here are the pieces all cut out.


Sew the two underbelly pieces together, leaving a hole in the middle for turning the elephant right-side-out and stuffing. Reinforce where you stop and start by sewing back and forth over the same few stitches. The lines on the pattern are sewing lines—if you take in a small seam there, the legs will point more downward. Without it, they point out a lot.


Sew the underbelly to the body. Remember, right sides together. (You’ll sew the two body pieces to each other later.)


Now sew the backs/fronts of the ears together, and turn them right-side-out.


Sew on the ears, eyes, and tail. I hand-embroidered the eyes, but you could sew on buttons, or applique eyes, or whatever. (Just be careful that any choking hazards are very securely attached, if you’re making them for small children.) I also sewed the ears on by hand, so you wouldn't see a seam and so the ears could flop more freely, but you could attach them with by machine, either. The tail is three pieces of ribbon knotted together and sewn onto the appropriate place.


Now pin the ears out of the way, pin the two body pieces together, and sew. If you want the bottoms of the feet to be flat, sew down the legs but not across the feet. If you want them to be pointy, go ahead and sew all the way around.

Here’s what it looks like so far.

Unfortunately, none of my pictures for sewing flat bottoms onto the feet turned out, and I don’t really know how to describe it. Sorry, but you’re on your own for that.

Now she's all done except for stuffing!

What I would do differently next time:
Make the legs and trunk fatter. I just think it’d be cuter that way.
Make the skinny-part that I mentioned at the beginning wider.

Well, I hope you like the elephants and have lots of fun making your own!

Oh, yeah. Thanks to HomemadebyJill.blogspot.com, who posted an elephant she made, and a link to the free pattern she based it on. Free Pattern: http://weewonderfuls.typepad.com/wee_wonderfuls/downloads/Pointy-Kitty-Pattern.pdf This was a lot of help in figuring out how to create my elephant pattern.

Please don't sell toys made from this pattern, but feel free to make them for gifts. I want to see pictures of what you make!