Showing posts with label nativity. Show all posts

16 December 2013

"Away in a Manger" Sweet and Simple Nativity

Do you ever feel like Christ gets a little lost in the Christmas season?  I do.  So I wanted today's Sew a Song of Christmas project to remind us what Christmas is really about.

I did already make a wooden nativity set a couple years ago, but there's always room for another nativity set, right?   We will have fun playing with these cute little guys and teaching Boo and Daddy's Girl about when Christ was born.

"Away in a Manger" Sweet and Simple Nativity

This project was inspired by these adorable Princess Peg Dolls.  When I showed Boo this tutorial, she decided she wanted to paint a princess set.  So she did.  And they turned out really cute.  I'll have to show them to you later.
  
Wooden Peg People Nativity Set—Supplies

Besides the regular painting supplies, all you need for this project are eight wooden peg dolls.  I found mine at Hobby Lobby.  They come in packs of eight, so that worked out great!

These are the "Man" sized peg people; they also make "Boy" sized dolls, so you could make baby Jesus smaller than the others.  I didn't want Daddy's Girl to eat or lose the little baby Jesus, so I painted Him on Mary.  (The "Man" size are still a choking hazard, so be watchful if you have babies/toddlers.)

Wooden Peg People Nativity Set—Step 1

First, I painted their heads.  The nice thing about painting all the Nativity People at once is that by the time you've finished the last one, the first is dry already and you can go right to the next step.

Wooden Peg People Nativity Set—Paint Their Clothes

Then I painted their clothes.  I decided this was a "less is more" kind of project, and painted their clothes really simply.  

I painted Mary in her traditional blue.  Joseph is dark blue so he feels like he belongs with Mary.  The shepherds are grey to show their humble state in life. (I would have done brown, but I couldn't mix a nice color.)  The three kings are rich, jewel-toned colors.  And of course, the angel is white.

I feel like the nativity set is already identifiable, but that's probably just me.  Let's add a little something, while still keeping them simple.

Wooden Peg People Nativity Set—Mary and Joseph

Mary is holding baby Jesus and wearing the blue head covering.  I didn't know what to do for Joseph; most nativity sets I've seen have him holding a shepherd's crook, which doesn't make any sense at all for the carpenter that he is.

Wooden Peg People Nativity Set—Angel

 The angel gets a halo and wings.


Wooden Peg People Nativity Set—Shepherds

The shepherds get a shepherd's crook and a lamb.

Wooden Peg People Nativity Set—Three Kings, Wise Men

And the kings get crowns.  I thought about giving them gold, frankincense, and myrrh, but I went back to "less is more."

UPDATE:  I realized these guys should have a coat of clear polyurethane to protect them, but I haven't done that yet.

Wooden Peg People Nativity Set

I think this little nativity set turned out so cute.  :)  

 Merry Christmas, everybody!  Only nine more days!

Don't miss the other posts in our Sew a Song of Christmas series!
"I'm Dreaming of a White Christmas" Tulle Wreath
"O, Christmas Tree" Glitter Ball Ornaments
"What Child is This?" Mini Quilt
"Blue Christmas" Simple Holiday Skirts
"Rudolf the Red-Nosed Reindeer" Ornaments
"Let It Snow" Mitten Ornaments

06 December 2013

"What Child is This?" Mini Quilt Tutorial from Al of Shaffer Sisters

Today, the wonderful Al is sharing with us her mini quilt inspired by the song, "What Child is This?"

She and her sisters, Jo and Scary (aka SarahLynn), have some great projects at their blog, Shaffer Sisters.  One of their projects I'm excited to try is the Minky Crib Sheet.  (How amazingly comfortable does that sound?!)  And they do a lot of sewing for girls (I love this cute dress) and for boys (like this awesome shirt).  You should definitely go check out their blog!

But first, the "What Child is This?" mini quilt.  On to you, Al.

~~~

Little Girl and Santa
This was taken at a church Christmas party when Ty was 18 months old.
I love Christmas. I treasure the peace, hope, and love that I feel when I think about the true meaning of the season. Too often it seems like the Christ in Christmas is lost to bright flashing lights and an excessive focus on Santa and the entitlement of gifts.
http://shaffer-sisters.blogspot.com/2012/12/merry-christmas-from-us-to-you.html
Christmas Towel Tutorial & Free Printable
I love my Lord and Savior, Jesus Christ, and this season (as with years past) it is my goal to give something that keeps the focus on my Redeemer. The King of Kings was born into the most humble of circumstances, but that didn't make Him less. His birth was marked by the fanfare of angels, the brightest star in the sky, and the company of humble shepherds and faithful Wise-men from afar. From a young, pure, and loving mother He was born. I'm sure that Mary, just like all new mothers, felt an overwhelming love of this gift straight from heaven, but also an uncertainty that she could be the best for of someone so precious and perfect.
"What Child is This?" Mini Quilt
This story is portrayed in the hymn of "What Child is This?"  It is one of my favorite Christmas songs. One day while thrift store shopping I found "Quilt a Colorful Christmas" (contains 39 projects) and it cost only $2. You should probably know that I love quilts so getting it was a no brainer. One of my favorites from the book was the Mother and Child project which I decided to share with you today.

This was such a fast and easy project. I thought it would entail paper piecing or something a little more complicated, but it was simply just fabric, sew-able heat-n-bond (they recommended fusible web, but I had to make due with what I had), stitching on top of the applique, and then putting it all together.
"What Child is This?" Mini Quilt 2
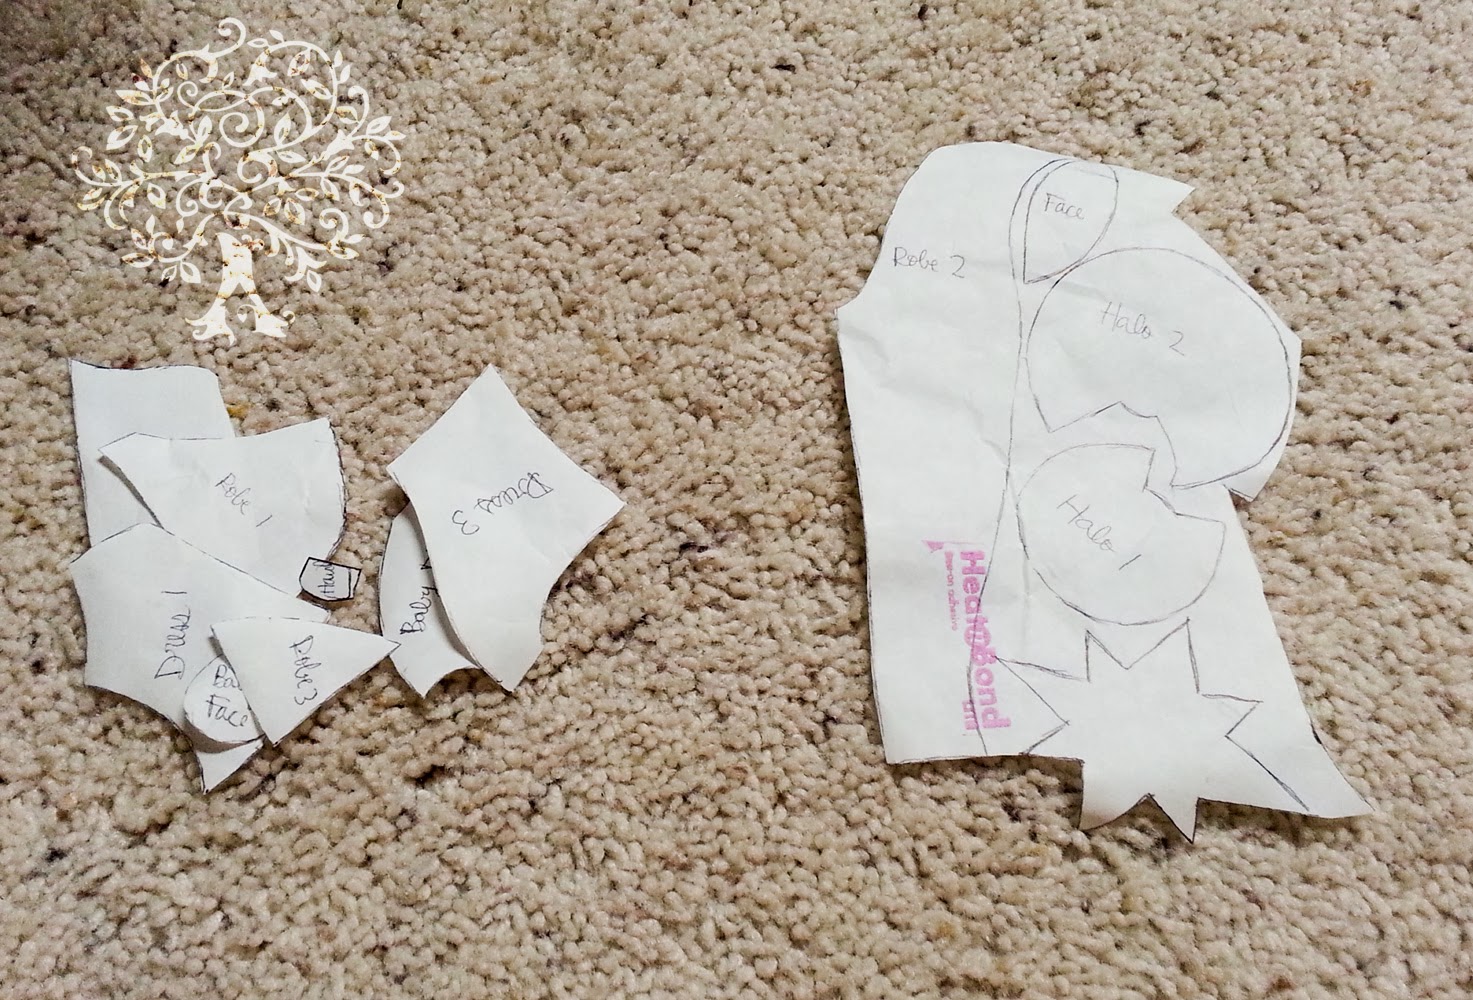
Sadly I can't give this pattern to you since it's not my design, but you can do something similar to this by just sketching it out. Then add 1/8-1/4" (on your sketch with a dotted line) to the pieces that lay underneath the pieces on top (so you don't have any unwanted dead space, but you will be able to trace out your pattern next). Then you can go through and trace out each little pattern pieces onto printer paper. And wala you have your own pattern.

Since I don't want you to miss out if you want to do something like this and feel like you lack the artistic ability necessary, I came up with my own design using the instructions above. I am sharing the pattern with you and tomorrow you can come over to my blog and see the finished project and share yours if you decided to make one as well.
"What Child is This?" Mini Quilt Pattern and Placement Guide
What Child is This Placement Guide & Pattern Pieces (print to be 8.5" x 11" size)
You will need:
Pattern pieces
Scraps of 6 different colors (plan appropriately and make sure there's enough)
(1) blue background fabric 8" x 6 3/4"
(2) 3 3/4" x 6 3/4" for top and bottom border
(2) 3 3/4" X 13 1/2" for side borders
(2) 2 1/4" x width of fabric for binding (piece together to have one long strip)
(1) 12 1/2" x 13.5" piece of quilt batting
*When sewing use 1/4" seam allowance.
"What Child is This?" Mini Quilt Pattern Pieces
After printing or designing your pattern pieces place then fusible webbing or sew-able heat-n-bond above the pattern (paper side up) making sure you trace all the pattern pieces. After that it's just a matter of cutting out the adhesive pattern pieces and ironing them to your scraps of fabric, cutting them out of the scraps and removing the backing paper.
"What Child is This?" Mini Quilt — Fuse on the webbing
To put it together you can look at your original picture for a placement guide and place it on the blue background. Don't iron until you are absolutely ready. When I did it, I just did a little at a time (starting at the bottom and making my way up) because I wanted to be able to adjust if it shifted. Once it's all ironed you can stitch around the edge of the applique with a small zigzag stitch in a clear or neutral thread so that the design will stay.
"What Child is This?" Mini Quilt Top
After that it's a matter of adding the border (top and bottom first then sides) and putting it all together like a mini quilt. There's a little extra length on the side pieces (1/4") that you can trim down and square off when you are done. All that will be left is to quilt (what design/method you choose) and bind. If you don't know how to do binding you could read this tutorial on binding.
"What Child is This?" Mini Quilt 3
Thanks so much for letting me share my love for the Lord this Christmas season.

With Love,
Al


~~~
Be sure to check out the other posts as we Sew a Song of Christmas!

19 December 2011

DIY Simple Wooden Holy Family Nativity


Last Thursday, I went to a wonderful Christmas party put on by the women's organization in my church.  We had dinner, a really nice musical program (I didn't know there were so many talented people in my congregation!), and at the end of the night, they gave us these cute little nativities.

It would be really easy to make one of these for yourself.  And who wouldn't want one of these nativities to decorate their home?


You need:
Some wood  (see the dimensions in the picture above)
Three wooden knobs.  Baby Jesus's head is about 3/4" diameter; I forgot to put that in the picture.
Green, blue, and white crackle paint
Flesh-colored (non-crackle) paint
About 26" of twine
Hot glue
General painting supplies

UPDATE:  I've gotten lots of questions about where I got the wood for this project.  Like I said, I didn't make this nativity, but rather had it given to me at the end of this church activity.  I'm guessing that they got the wood at Home Depot/Lowe's/etc.


The process is pretty clear from the pictures, I think, so I won't write them out.  Here's a picture of the back, though.


Merry Christmas!
 Only six more days!!!

11 December 2010

Wooden Nativity Set {with free pattern}


My husband and I wanted Hailey to have a nativity set that she could play with, and that would also look nice decorating out home.  So we made her her very own set out of wood.  It was lots of fun to do, and Hailey loves to play with it.

You will need:
my pattern :)
pencil or pen for tracing onto the wood
wood--we used white pine, 4 x 12 x 1
        --some 1/8 inch thick wood for star and angel wings
scroll saw
sand paper
wood glue
paint (and other painting supplies, you know)
optional:  a spray sealant


Here's the pattern.  It's sized to print on a regular 8.5x11 sheet of paper.  (That's why the stable is cut in half.)


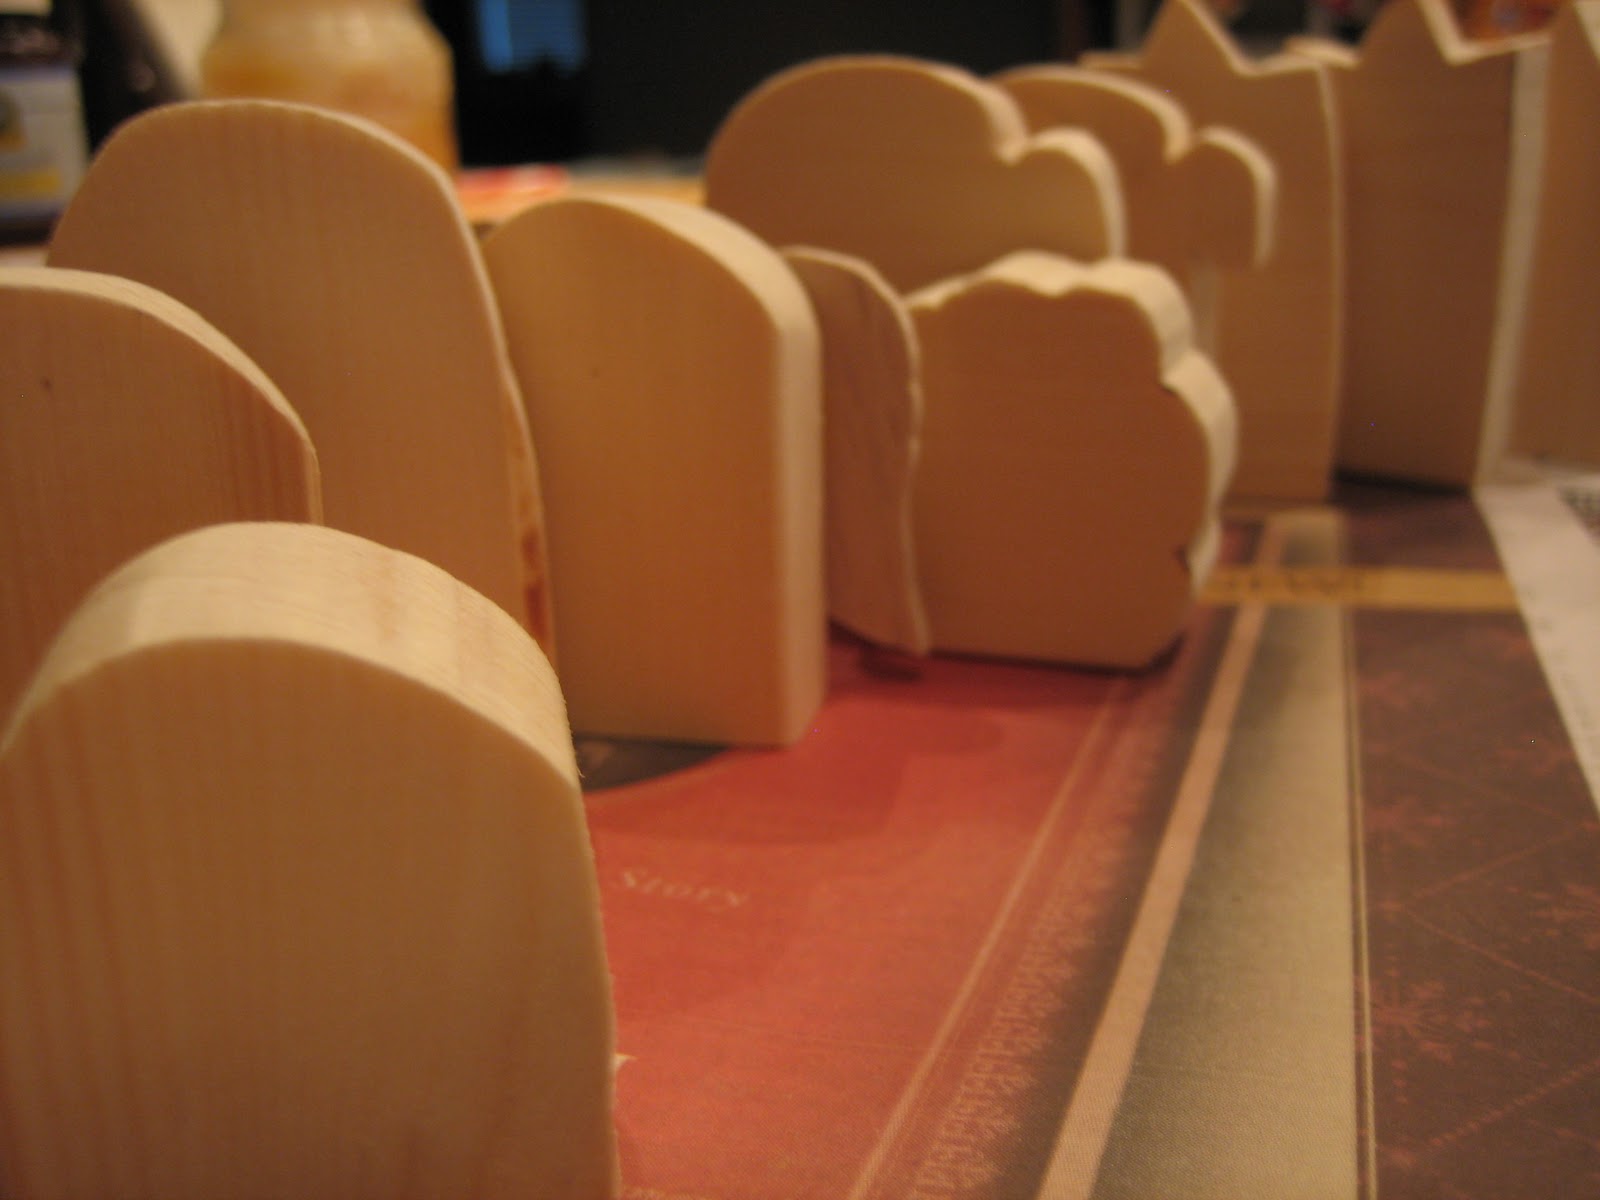
After you print and cut out the pattern, arrange the pieces on your wood.  


 Joseph had the wonderful idea to use pushpins to hold the pattern in place for tracing.


Here it is all traced out.  Avoid knots if you can.


Cut them out.  Sand away any splinters.

Glue the wings on the angel.  (We ended up cutting the wings in half and gluing each wing on separately.)  Glue the two halves of the stable together.  Don't glue the star on just yet.

Once the glue is dried and set, paint everything all cute.  :)  This is the fun part.  You can paint them like we did, or completely different.  If your kids are old enough, let them help.  :)

After everything's painted and dry, glue the star onto the joint in the stable.  It covers up any imperfections in glueing.  (Always a good thing.)

Spray on the sealant, if you want.

Now you're done!


Here's the finished nativity set, in front of the nativity Hailey isn't allowed to play with.